
Overview
I explored Kamakura’s photography scene across multiple seasons, from the gold-lit Great Buddha at dawn to the surf silhouettes at Shonan coast sunset. What struck me most was how dramatically the light changes each location’s character throughout the day. — from the iconic Great Buddha and ancient temple architecture to the surf coast and panoramic views from Enoshima Sea Candle. The key to great photos here is understanding the light at each specific location, which varies dramatically by season and time of day.
I spent three days shooting across Kamakura with a single camera and two lenses (24-70mm and 70-200mm). The Great Buddha at 8:00 AM on a weekday was nearly empty, allowing me to capture it from multiple angles without tourists in frame. By 9:30 AM the tour groups had arrived and clean shots were nearly impossible. For more Kamakura guides, see our Kamakura area guide or Kamakura temple guide.
Access
Kamakura is well connected to Tokyo, with trains and buses running throughout the day. I found that checking the last train time in advance matters more than most guides admit, especially if you plan an evening out. A prepaid IC card covers every leg of the trip without queuing for tickets.
Best Photo Locations and Settings
| Location | Best For | Best Time | Admission | Recommended Lens |
|---|---|---|---|---|
| Great Buddha | Iconic shots, scale | 8:00 AM weekday | ¥300 | 16-35mm (wide) |
| Tsurugaoka Hachimangu | Architecture, ceremonies | Sunrise | Free | 24-70mm |
| Bamboo Grove (Hokoku-ji) | Light rays, nature | 9:00-11:00 AM | ¥300 | 70-200mm |
| Enoshima Sea Candle | Panoramic, Fuji views | Sunset | ¥600 | 16-35mm |
| Hase-dera | Ocean views, gardens | 8:00-10:00 AM | ¥400 | 24-70mm |
| Komachi-dori | Street photography | Afternoon | Free | 35mm or 50mm |
| Yuigahama Beach | Surf, sunrise | Early morning | Free | 70-200mm |
| Sasuke Inari Shrine | Torii gate tunnel | 9:00-11:00 AM | Free | 16-35mm |
| Meigetsu-in | Hydrangeas (June) | 8:30-9:00 AM | ¥500 | 70-200mm |
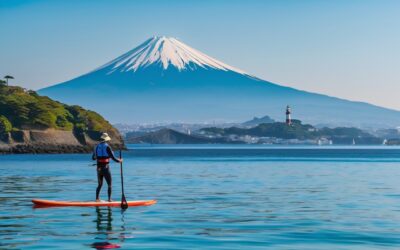
| Inamuragasaki Cape | Surf, Mount Fuji | Sunset | Free | 24-70mm |
Great Buddha Photography Guide
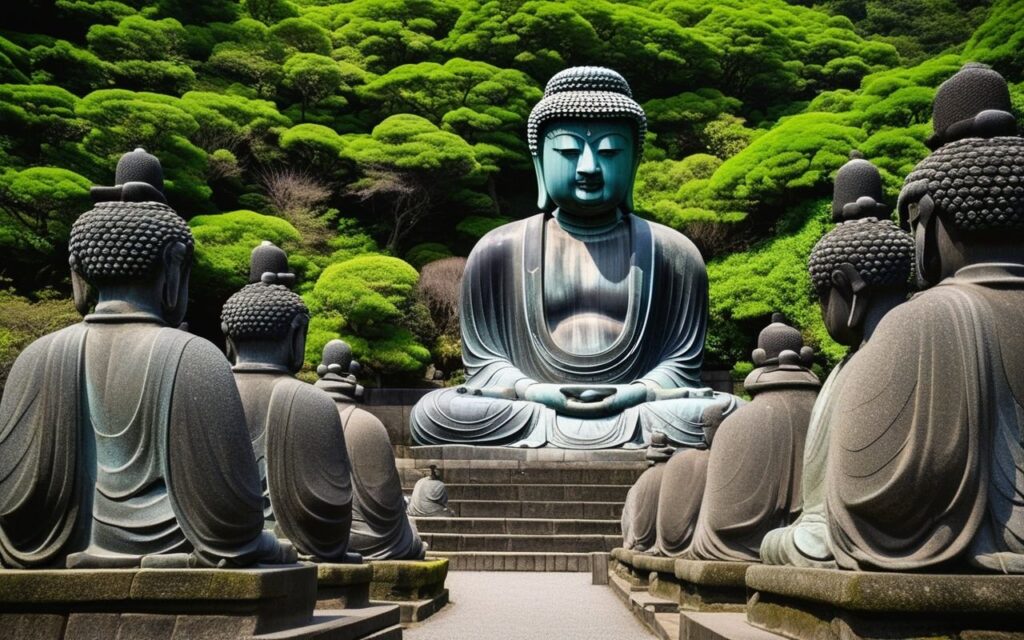
The Great Buddha at Kotoku-in is Kamakura’s most photographed subject. Here are specific approaches that work well: Book Kamakura, Enoshima & Yokohama day trip from Tokyo — ride the iconic Enoden train & skip transport planning
Front View (Standard): Position yourself directly in front of the statue, slightly to the left of center, to capture the full figure with the temple grounds as context. Use a wide-angle lens at f/8 for maximum depth of field. Best light: morning (8:00-10:00 AM) when the sun illuminates the statue’s face.
Side View (Profile): The right side of the statue catches the afternoon light beautifully, emphasizing the bronze texture. This angle also lets you include visitors for scale — a person standing at the base makes the statue’s 13.35-meter height apparent.
Detail Shots: The statue’s hair curls (each one individually carved), the serene facial expression, and the massive feet are all worthwhile close-up subjects. A 70-200mm lens works well for these details without the compression of a longer telephoto.
Practical Tips:
- Arrive at 8:00 AM when the gates open
- Pay the ¥300 entry fee inside (you can see the statue from outside, but the best angles require entry)
- Tripods are allowed but be mindful of other visitors
- The statue is in an open courtyard — overcast days actually work better than harsh midday sun
Temple Architecture Photography
Tsurugaoka Hachimangu
The main hall’s vermillion color stands out best in the soft light of early morning or late afternoon. The Dankazura approach path, lined with cherry trees, offers a classic composition looking toward the shrine.
Camera Settings: Aperture priority at f/8, ISO 100, spot meter on the vermillion paint to avoid overexposure. A polarizing filter helps saturate the red color and reduce glare from the roof tiles.
Kencho-ji and Engaku-ji
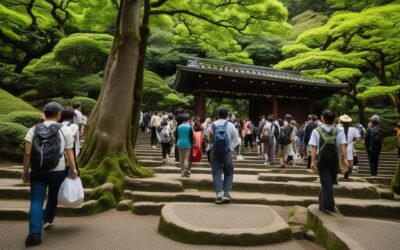
Zen temples require a different approach — slower, more contemplative. Focus on the gardens, the moss, and the play of light through trees. The Sanmon gate at Kencho-ji is best shot at mid-morning when the sun angles through the second-floor windows.
Bamboo Grove (Hokoku-ji)
The bamboo creates natural leading lines. Visit between 9:00 and 11:00 AM when sunlight streams through the canopy. Use a 70-200mm lens at f/2.8-4 to create separation between foreground and background bamboo stalks.
Seasonal Photography Calendar
| Season | Best Light | Top Subjects | Challenges |
|---|---|---|---|
| Spring (Mar-May) | 6:00-8:00 AM / 4:00-5:30 PM | Cherry blossoms, festivals | Crowds at popular spots |
| Summer (Jun-Aug) | 5:00-7:00 AM / 5:30-7:00 PM | Hydrangeas, beaches, sunsets | Harsh midday light, humidity |
| Autumn (Sep-Nov) | 6:00-8:00 AM / 3:30-5:00 PM | Fall foliage, clear skies | Afternoon shadows shorten |
| Winter (Dec-Feb) | 6:30-8:30 AM / 3:30-4:30 PM | Mount Fuji views, clear air | Cold, early sunsets |
Golden Hour Timing
The golden hour in Kamakura varies significantly by season: Relax at LeFuro Kamakura Sauna — a modern Japanese sauna and wellness experience in the heart of Kamakura
- Winter: 6:30-7:30 AM / 3:30-4:30 PM (short, intense)
- Summer: 5:00-6:00 AM / 5:30-7:00 PM (longer, softer)
For sunset photography, combine a visit to Inamuragasaki Cape or Enoshima Sea Candle with the golden hour. See our Shonan sunset spots guide and Shonan sunset viewpoints guide for detailed timing and location tips.
Frequently Asked Questions
Q: What camera gear should I bring to Kamakura? Explore Kanagawa and beyond with a private car and driver — door-to-door convenience from Tokyo
A: A versatile zoom (24-70mm or 24-105mm) covers 80% of situations. Add a 70-200mm for details and compression. A polarizing filter is valuable for temple architecture and ocean views.
Q: Are tripods allowed at temples?
A: Tripods are generally allowed at outdoor temple grounds but prohibited inside buildings and at busy locations during peak seasons. Meigetsu-in bans tripods during hydrangea season.
Q: What is the best time for empty temple shots?
A: Temple opening times (8:00-9:00 AM) on weekdays. The Great Buddha at 8:00 AM is nearly empty. Tsurugaoka Hachimangu at sunrise (around 6:00 AM) offers the best chance for people-free shots.
Q: Can I fly a drone in Kamakura?
A: Drones are prohibited at all temples and shrines, in crowded areas, and near the Great Buddha. Kamakura city has strict drone regulations. Use a telephoto lens instead for elevated perspectives.
Q: How do I photograph the Great Buddha without tourists?
A: Be at the gate at 8:00 AM when it opens. You have about 45 minutes before the first tour groups arrive. Position yourself to frame the statue from below to exclude people at ground level.
Conclusion
exploring Kamakura for its photography can be as relaxed or as packed as you want it to be, and I have found that the best visits leave room for both planning and spontaneity. During my visit to Kamakura I went with a rough plan and found that leaving room to wander made the trip far more memorable. Use this guide to sort out the logistics in advance, then let the day surprise you — Kanagawa rewards travelers who stay curious.