
Kamakura Hidden Sunrise Photo Spots – Kanagawa 2026
Overview
Introduction: Kamakura Before the Crowds
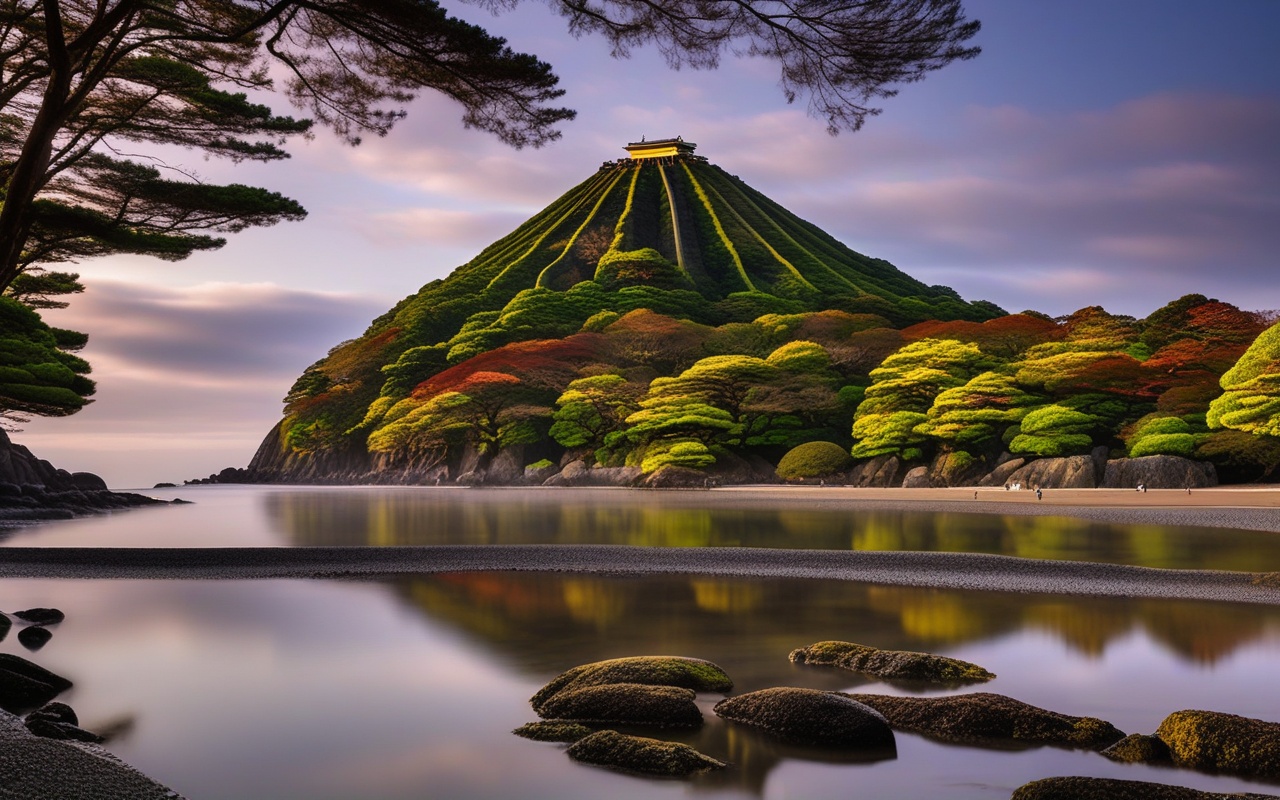
Kamakura receives millions of visitors annually, but very few of them see the city at dawn. The first trains from Tokyo arrive around 5:30 AM. Sunrise ranges from 4:30 AM (June) to 6:45 AM (January). Between first light and the arrival of the first temple buses, there is a golden window of 1-2 hours when Kamakura belongs to the early risers.
Why Dawn in Kamakura is Special: Book Kamakura, Enoshima & Yokohama day trip from Tokyo — ride the iconic Enoden train & skip transport planning
- Empty temples: No crowds, no queues
- Morning mist: Atmospheric, especially autumn-winter
- Golden light: 1st hour of sunlight is the bebest– Bird activity: Temple grounds come alive
- Cool air: Comfortable even in summer
Camera Settings for Dawn:
Recommended:
- Mode: Manual or Aperture Priority
- Aperture: f/8-f/11 (landscape sharpness)
- ISO: 100-800 (as low as possible)
- White Balance: Daylight (5600K)
- Format: Shoot RAW
- Tripod: Essential for low light
#1: Kenchoji Temple Back Gate (建長寺裏門)
Best for: Zen garden + morning mist
Location: North end of Kenchoji grounds
Sunrise access: Temple grounds are open (no gatekeeper)
Best season: October-March (mist common)
Crowd: 0-2 photographers typical
Why This Spot is Special:
- Unlocked back entrance (most don’t know)
- Morning mist over the Zen garden
- Shafts of light through cedar trees
- No entrance fee (before opening hours)
The Shot:
From the back gate area, looking south through the temple grounds, Morning mist settles in the depression around the main hall. If you arrive before full light, you can catch the transition from dark blue to gold.
Getting There:
From Kamakura Station:
- Walk north 20 min (or bus to Kenchoji)
- Pass the main entrance Save big with Hakone Freepass — unlimited train, ropeway & pirate ship rides, plus 30% off attractions
- Continue around the left side
- Small path leads to back gate area
- Enter through the gap in the wall ⚠️ Be respectful — monks are active from 5 AM
2. Kamakura Coast West End (由比ヶ浜西端)
Best for: Coastal sunrise with Mt. Fuji
Location: Western end of Yuigahama Beach
Sunrise access: Always open (public beach)
Best season: November-February (Fuji visible)
Crowd: 2-5 photographers on good days
Why This Spot is Special:
- Mt. Fuji visible on clear winter mornings
- Empty beach before the crowds
- Morning fishing boats returning to port
- Enoshima silhouette in the distance
The Shot:
Sun rising behind Enoshima Island, with Mt. Fuji visible to the left (winter only). Use a telephoto lens (70-200mm) to compress the layers: foreground beach → Enoshima → Fuji → sunrise sky.
Getting There:
From Kamakura Station:
1. Walk south toward the beach (15 min)
2. Turn RIGHT at the coast
3. Walk to the western end
4. Find the fishing boat parking area
3. Hokokuji Temple Bamboo Grove (報国寺竹庭)
Best for: Bamboo forest in first light
Location: Southern Kamakura, near Jomyoji
Sunrise access: Temple opens at 9 AM (exterior only)
Best season: Year-round (bamboo is always green)
Alternative: View from outside entrance
Why This Spot is Special:
- Bamboo at dawn (can’t enter, but you can see through gaps)
- Exterior path public, free access
- Morning dew on bamboo leaves
- No crowds (temple opens at 9 AM)
The Shot (Exterior):
From the public path beside the bamboo grove, shoot through the bamboo fence. The morning light creates diagonal shafts through the grove. Available from outside for free.
Getting There:
From Kamakura Station:
1. Bus to "Jomyoji" stop (10 min)
2. Walk 3 minutes to Hokokuji
3. Don't enter — follow the path to the RIGHT
4. The bamboo grove is visible through the fence
4. Zuisenji Temple Approach (瑞泉寺参道)
Best for: Mossy stone path in morning light
Location: Eastern hills of Kamakura
Sunrise access: Gate is open (no one collects fee at dawn)
Best season: Spring (moss) or autumn (maple leaves)
Crowd: Very few (hidden temple)
Why This Spot is Special:
- Carved rock garden (unique in Kamakura)
- Moss-covered stone path to the main hall
- Morning sun filters through maple trees
- Quietest major temple in Kamakura at any hour
The Shot:
The approach path: mossy stone steps, dappled morning light, maple canopy. Use a wide angle (16-35mm) to capture the full depth of the path.
Getting There:
From Kamakura Station:
1. Bus to "Zuisenji" stop (15 min)
2. Walk 5 minutes uphill
3. Gate is open (no attendant at dawn)
4. Be very quiet — residential area
5. Sasuke Inari Shrine Hillside (佐助稲荷shrine (神社)の裏山)
Best for: Red torii gates in golden light
Location: Sasuke area, behind Inari shrine
Sunrise access: Shrine grounds always open
Best season: October-March (low sun angle)
Crowd: 0 photographers typical
Why This Spot is Special:
- Lesser-known Inari shrine (mostly locals)
- Small torii gate tunnel (not Kamakura’s biggest, but emptiest)
- Hillside view of Kamakura from behind
- Fox statues in morning shadows
The Shot:
The small tunnel of red torii gates facing east, Morning sun backlights the gates and creates warm reflections on the red lacquer. Use a mid-range zoom (24-70mm).
Getting There:
From Kamakura Station:
1. Walk toward Sasuke (15 min northwest)
2. Find Sasuke Inari Shrine (small, easy to miss)
3. Walk through the shrine to the back
4. Small path goes uphill
5. Look back toward the gates from above
Practical Tips for Dawn Photography
Seasonal Timing
June (earliest sunrise): 4:30 AM
July: 4:40 AM
August: 5:00 AM
September: 5:30 AM
October: 5:50 AM
November: 6:20 AM
December: 6:40 AM
January: 6:50 AM (latest)
February: 6:30 AM
March: 5:50 AM
April: 5:20 AM
May: 4:50 AM
Equipment Essentials
Must Bring:
- Tripod (essential for low light)
- Wide-angle lens (16-35mm)
- Telephoto (70-200mm for Fuji shots)
- Extra batteries (cold drains fast)
- Headlamp/flashlight (walking in dark)
- Lens cloth (morning dew)

Recommended:
- Polarizing filter (coastal haze)
- Neutral density filter (long exposures)
- Remote shutter release
- Weather-sealed gear (morning dew)
Dress Code
Layer system recommended:
1. Base layer (thermal, winter)
2. Mid layer (fleece)
3. Outer layer (windproof)

Temperatures at dawn:
- Summer: 22-25°C (warm)
- Winter: 2-8°C (cold)
- Spring/Autumn: 8-15°C (cool) Always: Windbreaker (coastal winds)
Winter: Gloves, warm hat, hand warmers
Etiquette
✅ Keep voices low (residential areas)
✅ Use silent shutter mode
✅ Stay on paths in temple grounds
✅ Leave before staff arrive (8:30-9 AM)
✅ Photograph empty spaces respectfully
❌ No flash (disturbs early walkers)
❌ Don't enter roped-off areas
❌ Don't climb walls or statues
❌ Don't leave tripods in walkways
🌟 Share Your Experience
Captured Kamakura at dawn? Have a secret sunrise spot to share? Join our community forum to share your photos and tips!
Anaba OffJapan – Avoid the Crowds, Go Deeper into Japan.
📷 Advanced Photography Techniques
Planning Your Sunrise Shoot
Kamakura’s geography means that sunrise timing varies significantly depending on your location. The eastern coast receives direct sunlight at the moment of sunrise, while the western temple areas receive indirect light for another 15-20 minutes. The hillside spots like Zuisenji and Sasuke Inari are actually best 20-30 minutes after official sunrise, when the sun has risen high enough to clear the eastern ridge. Plan accordingly — if you’re shooting at the beach first, you’ll need to move inland quickly to catch the temples at their best moment.
Mastering Golden Hour in Kamakura
The golden hour in Kamakura lasts approximately 40-60 minutes after sunrise, but the quality of light changes minute by minute, Understanding these phases helps you plan your shots.
Phase 1: Blue Hour (30 min before sunrise)
- Ambient blue light, city lights still on
- Best for: Long exposures of temple silhouettes, light trails from early traffic
- Settings: ISO 200-400, aperture f/8-f/11, shutter 5-15 seconds
- Tip: Use a 10-stop ND filter for smoother water at Yuigahama Beach
Phase 2: First Light (sunrise moment)
- Warm orange-pink glow on the horizon
- Best for: Silhouettes of Great Buddha, temple roofs against the sky
- Settings: ISO 100-200, aperture f/8, shutter 1/30-1/125
- Tip: Position yourself so the sun rises behind your subject
Phase 3: Golden Glow (20-40 min after sunrise)
- Warm, directional light casting long shadows
- Best for: Bamboo grove light rays, moss textures, temple architecture
- Settings: ISO 100, aperture f/5.6-f/8, shutter 1/60-1/250
- Tip: Use a lens hood to prevent flare when shooting toward the sun
Composition Techniques Specific to Kamakura
Layering for Depth:
Kamakura’s landscape naturally provides three layers for compelling compositions. Frame a foreground element (mossy stone, cherry blossom branch, bamboo leaf), a midground subject (temple gate, statue, torii gate), and a background atmosphere (mist, mountain silhouette, sky gradient). This three-layer approach creates photographs with genuine depth.
Leading Lines with Temple Paths:
Many Kamakura temples have stone paths that naturally draw the eye. Position yourself at the start of these paths and use a wide-angle lens (16-24mm) to emphasize perspective. Shoot at f/8-f/11 to keep the entire path in focus from foreground to infinity.
Reflection Photography:
The ponds at Kenchoji and the moat near Tsurugaoka Hachimangu offer reflection opportunities. On windless mornings, the water becomes a perfect mirror. Set your camera low to the ground, focus one-third into the frame, and use a 2-second timer to avoid shake.
Post-Processing Workflow
Recommended Adobe Lightroom Workflow:
1. Basic: Exposure +0.3, Contrast +10, Highlights -30, Shadows +40
2. Tone Curve: Slight S-curve for contrast
3. HSL: Increase orange/yellow saturation for warm tones
4. Split Toning: Warm highlights (orange), cool shadows (blue)
5. Sharpening: Amount 40, Radius 1.0, Mask 60
6. Noise Reduction: Luminance 20 (if ISO above 400)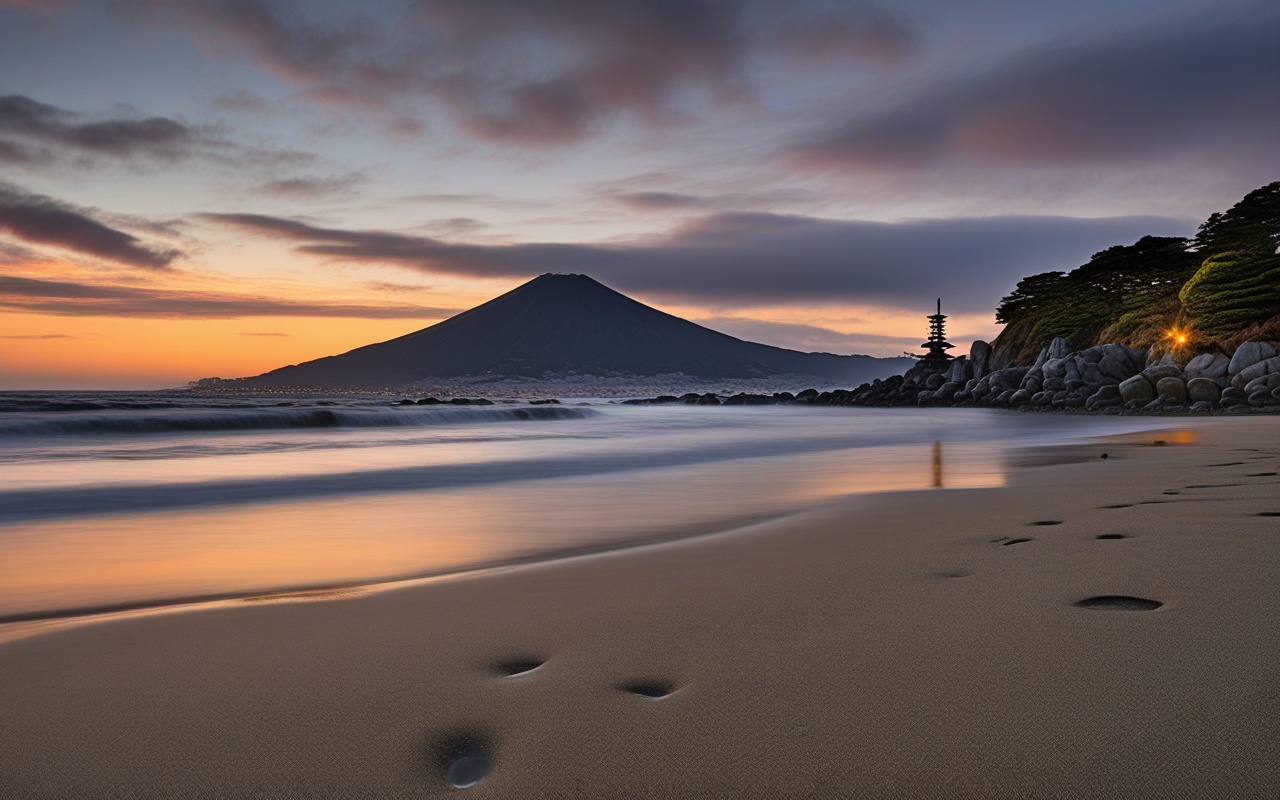
Kamakura at dawn offers a completely different experience from the bustling city that appears after 9 AM. The empty temples, morning mist, and golden light create conditions for photography and contemplation that are simply impossible during peak hours. Wake up early — it’s worth it.
What to Bring
Smart travelers to Kanagawa pack light and bring layers. The weather can shift from warm to cool within a day. A portable WiFi device or SIM card is essential for navigation. Bring a small notebook for recommendations. Hand sanitizer and tissues are useful. Consider packing a foldable tote bag for souvenirs.
Conclusion
The details in this guide come from real visits, and the biggest lesson I took away was that the best experiences in Kamakura rarely fit neatly into a checklist. During my visit to Kamakura I went with a rough plan and found that leaving room to wander made the trip far more memorable. Plan the essentials, keep your schedule flexible, and you will leave Kanagawa wanting to return.