
Overview
Plan your perfect visit to Jogashima Lighthouse & Geology Guide with this comprehensive destination guide, Covering everything from must-see attractions to practical travel tips, this guide helps you make the most of your time in Jogashima. Whether you have a single day or an entire week, discover the best that this Kanagawa destination has to offer.
Introduction: Two Stories on One Island
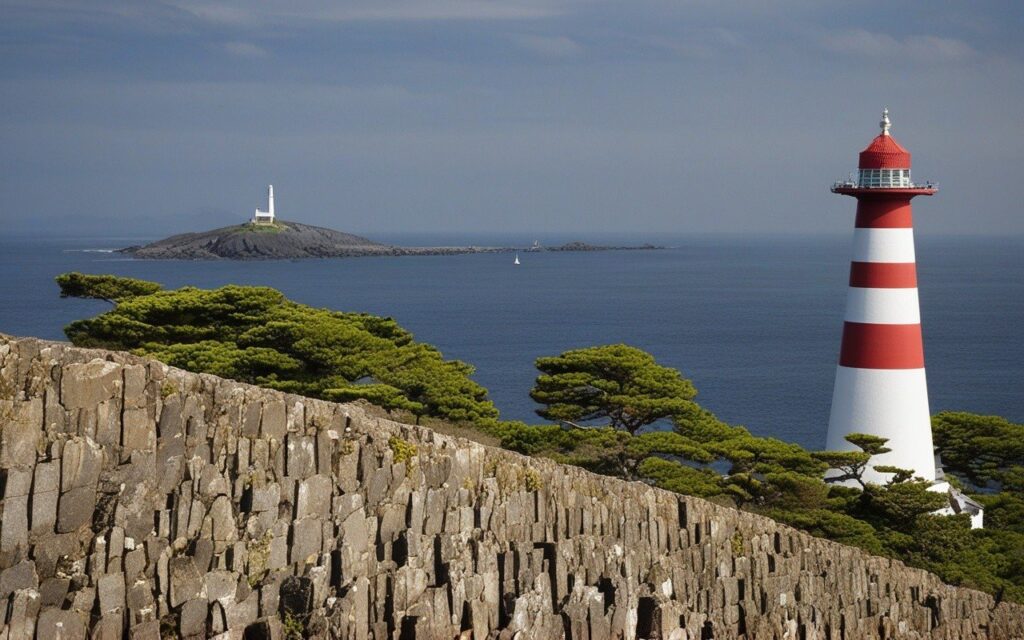
Jogashima tells two stories simultaneously. The first is human — the lighthouse built by French engineers in Japan’s rush to modernise, standing resilient through earthquakes and war. The second is geological — a story measured in millions of years, written in volcanic sediment layers that were deposited on the deep ocean floor, then uplifted by tectonic forces to form the island we see today.
Both stories are visible from the same coastal trail. The lighthouse rises from the island’s western headland, its white tower visible for kilometres. Beneath it, the cliffs reveal layer upon layer of compressed volcanic ash and marine sediment, tilted and faulted by the same seismic forces that destroyed the original lighthouse in 1923.
What Makes This Place Special:
- Historic lighthouse: One of Japan’s earliest Western-style lighthouses, designed by Léonce Verny (who also built the Yokosuka Naval Arsenal and the Yokohama ironworks)
- Visible geology: The Miura Peninsula’s tectonic history is exposed in cliff faces along the southern shore
- Sea cave: Umanose (Horseback) Cave Mouth is a tunnel carved through volcanic rock by wave action
- Dramatic coastline: Rugged sea cliffs and jagged volcanic formations shaped by Pacific swells
- Panoramic views: From the lighthouse, views stretch across Sagami Bay to Mt. Fuji on clear days
Updated: June 2026 (all sites visited and verified)
Part 1: Jogashima Lighthouse (Jogashima (城ヶ島)灯台)
1. Lighthouse History
The Jogashima Lighthouse was completed in 1870 as part of Japan’s ambitious lighthouse-building program under the guidance of foreign engineers. The project was led by Léonce Verny, a French naval engineer who supervised the construction of the Yokosuka Naval Arsenal and several other key Meiji-era infrastructure projects.
The original structure was a brick tower, built in the Western style that Japan adopted as it opened to international maritime trade. Its location on Jogashima’s western tip was chosen because the island marks the western entrance to Tokyo Bay — a critical navigation point for ships approaching the capital.
Timeline:
| Year | Event |
|---|---|
| 1870 | Original lighthouse completed (brick, designed by Léonce Verny) |
| 1923 | Great Kanto Earthquake destroys the original structure |
| 1925 | Current lighthouse completed (reinforced concrete) |
| 1926 | Lighthouse operational with updated optics |
| Present | Active navigation aid, open for exterior viewing |
2. Lighthouse Architecture
Structure Details:
Height: ~11.5 metres
Tower shape: Cylindrical with balcony
Material: Reinforced concrete (current structure)
Original material: Brick (destroyed in 1923)
Style: Western functional (Meiji-era maritime)
color: White with gray trim
Light characteristics: Flashing white every 15 seconds
Range: ~30 kilometres (visible range)
The current lighthouse, rebuilt after the Great Kanto Earthquake, is a robust concrete structure designed to withstand the seismic activity that characterises the region. The cylindrical tower is topped with a lantern room and an external balcony that offers panoramic views of the surrounding coastline.
The lighthouse is not open for interior tours, but the grounds around it are accessible. The best views of the tower itself are from the coastal path leading to it, and from the cliffs below, where the lighthouse can be photographed against the sea.
3. Best Viewpoints for Photography
- The approach path: From the parking area, the lighthouse appears framed against the sky — best in early morning light
- Cliffside below the tower: Shoot upward to emphasize the tower’s height against the sky; wide-angle lens recommended
- From the eastern headland: Capture the lighthouse in profile with the sea as background; telephoto (100–200mm) works well
- Sunset: The tower silhouetted against the setting sun; arrive 45 minutes before sunset for the best color
For detailed camera settings and composition tips, see the Jogashima photography guide.
4. Access to the Lighthouse
From Jogashima Park parking area:
1. Follow the paved path westward (5 minutes)
2. Pass the small shrine on the right
3. The lighthouse appears on the headland
4. Path ends at the lighthouse fence (no interior access)

Total: ~800 metres from park entrance
Time: 10–15 minutes walk
Difficulty: Easy (paved, flat)
Part 2: Geological Story
5. The Volcanic Origins
The rocks that form Jogashima were created approximately 12 million years ago during the Miocene epoch. At that time, the area that is now the Miura Peninsula lay beneath the Pacific Ocean, receiving a steady rain of volcanic ash and sediment from underwater eruptions.
Over millions of years, these volcanic sediments accumulated in layers hundreds of metres thick. The weight of subsequent deposits compressed them into sedimentary rock — primarily a type called Miura Group turbidite — characterised by alternating layers of sandstone, mudstone, and volcanic tuff.
This geological story is not unique to Jogashima — the entire Miura Peninsula shares these origins — but the island’s exposed coastline makes it one of the best places in Kanagawa to observe the formations directly.
What to Look For:
- Alternating light and dark layers: Sandstone (lighter) and mudstone (darker) represent different depositional environments
- Fault lines: Visible offsets in the rock layers, evidence of tectonic movement
- Volcanic tuff layers: gray-green bands of compressed volcanic ash
- Fossil traces: Occasional shell fragments and burrow marks in the mudstone layers
6. Tectonic Uplift
The Miura Peninsula sits at the junction of the Philippine Sea Plate and the Eurasian Plate — a tectonically active zone responsible for the region’s earthquakes and its dramatic topography.
Approximately 1–2 million years ago, tectonic forces began lifting the ancient seafloor above the water line. This uplift continues today — the Miura Peninsula rises at a rate of roughly 1–2 millimetres per year, one of the fastest rates in Japan.
Jogashima, as the southernmost point of the peninsula, shows this uplift most clearly. The flat terraces visible at the island’s eastern end are ancient wave-cut platforms that now sit above sea level — direct evidence of the land rising relative to the ocean.
The same tectonic forces that created the island also destroyed the original lighthouse in 1923. The Great Kanto Earthquake, which measured 7.9 on the moment magnitude scale, shifted the coastline and triggered a tsunami that reshaped parts of the island’s shoreline.
7. Sea Cliffs and Rock Formations
The southern coast of Jogashima is where the geology becomes dramatic. Here, the layered volcanic sediments have been carved by Pacific waves into jagged cliffs, offshore stacks, and narrow clefts.
Key Formations:
- Southern sea cliffs: Vertical faces up to 20 metres high, showing the full thickness of the exposed rock layers
- Wave-cut platforms: Flat rock surfaces at the base of the cliffs, exposed at low tide
- Offshore stacks: Isolated rock pillars that were once connected to the cliff but have been separated by erosion
- Sea caves: Small caves carved into the cliff base at points where the rock is weaker
The cliffs are most accessible from the southern coastal trail, which runs from the lighthouse area to the island’s eastern end. The trail has sections with uneven footing and steep drops — sturdy shoes and a cautious pace are essential.
8. Umanose Cave Mouth (馬の背洞門)
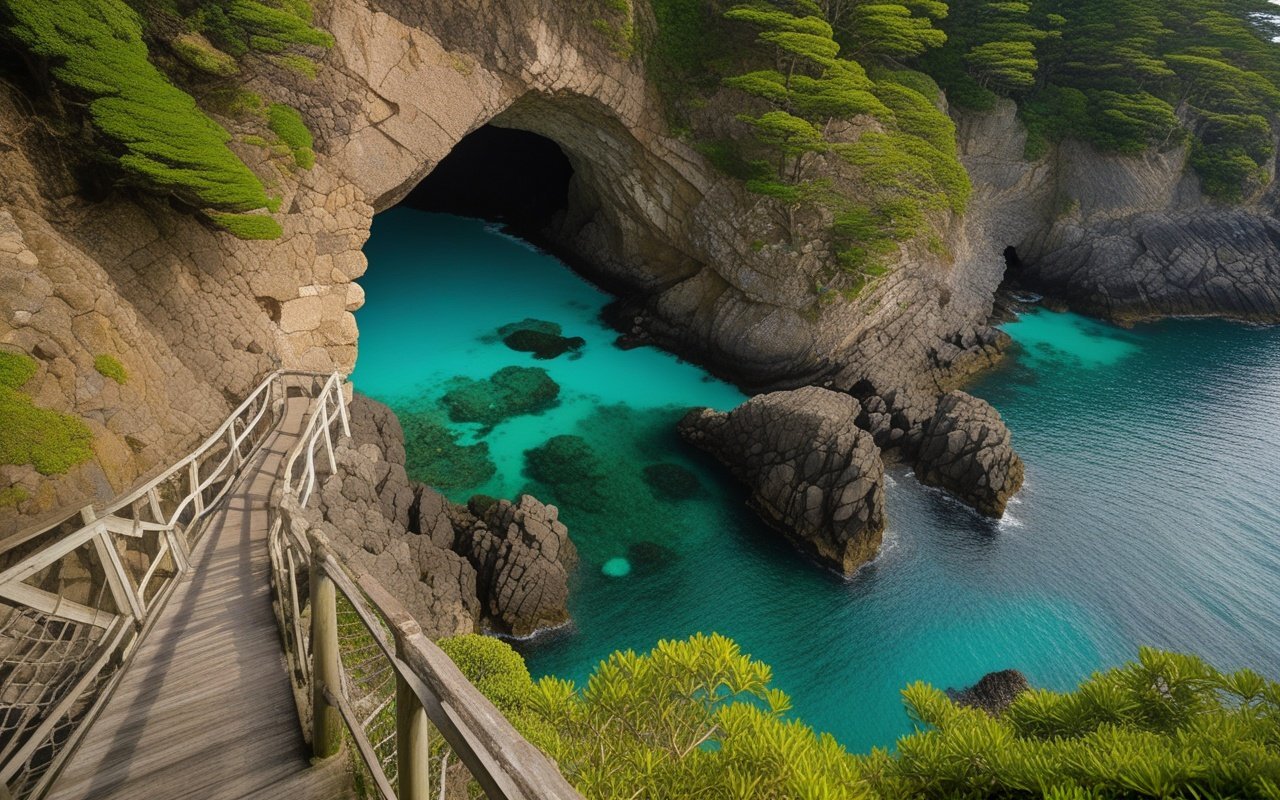
The most famous geological feature on Jogashima is the Umanose Cave Mouth — a natural sea cave that has been eroded completely through the rock, creating a tunnel wide enough for small boats to have passed through.
Formation:
The cave was carved by wave action along a fault line where the rock was fractured and weaker than the surrounding material. Over thousands of years, the Pacific swells exploited this weakness, first creating a notch at the cliff base, then a cave, and eventually a tunnel through the headland.
Dimensions:
Width: ~5 metres at the entrance
Height: ~3 metres at the highest point
Length: ~8 metres (tunnel depth through the headland)
The cave roof collapsed partially in 2015 after a series of strong winter storms, reducing the height of the tunnel. Before the collapse, small boats could navigate through the cave — now it is accessible only on foot during low tide.
Visiting the Cave:
- Best time: Low tide (the cave floor is submerged at high tide)
- Access: From the southern coastal trail, follow the signed path toward the sea
- Footing: The floor is uneven rock and pebbles — wear sturdy shoes
- Photography: The cave frames the sea view dramatically; a wide-angle lens captures the full arch
- Safety: Never enter during rough weather or when waves are breaking against the cliff
Pair a visit to the cave with the Jogashima hiking trail guide, which includes the cave as a waypoint on the full circuit.
Practical Information
Suggested Route: Lighthouse + Geology Walk
This route covers the lighthouse and the main geological features in a single loop.
Start: Jogashima Park parking area / bus stop
Distance: ~3 kilometres
Duration: 2–3 hours (with stops)
Difficulty: Moderate (some uneven trail sections)

Route:
1. Walk west to the lighthouse (10 min)
2. Photograph lighthouse from the headland (15 min)
3. Continue south along the coastal trail (15 min)
4. View the sea cliffs and rock formations (20 min)
5. Descend to Umanose Cave Mouth (10 min)
6. Explore the cave at low tide (15 min)
7. Return along the southern trail to the park (20 min)
8. End at Jogashima Park for rest and facilities Total walking: ~2 hours
With photography stops: 2.5–3 hours
What to Bring
Essential:
- Sturdy walking shoes (uneven rock surfaces)
- Water (1–2 litres — no vendors along the trail)
- Sun protection (limited shade on the southern trail)
- Windproof jacket (the southern coast is exposed)

For Photography:
- Wide-angle lens (landscapes, cave)
- Telephoto lens (lighthouse details, compression)
- Polarising filter (reduces glare on water and wet rocks)
- Tripod (for long exposures of waves against the cliffs)

For Geology:
- Small magnifying glass (to examine rock textures)
- Notebook and pencil (for sketching formations)
- Guidebook or downloaded geology map
Best Times to Visit
For Lighthouse Photography:
- Early morning (7–9 AM): Soft light on the white tower
- Late afternoon (3–5 PM): Warm light, long shadows
- Winter: Clearest views of Mt. Fuji from the lighthouse

For Geology Viewing:
- Low tide: Access to the cave and rock platforms
- Winter–Spring: Lowest vegetation, clearest rock exposure
- After a storm: Freshly exposed rock surfaces (but check safety)
- Avoid: High tide (cave inaccessible), typhoons, heavy rain

Overall:
- Best season: October–April (clear skies, comfortable temperatures)
- Weekdays: Much quieter than weekends
- Morning: Sun behind you for most of the walk
Safety Notes
⚠️ Stay on the marked trails — the cliff edges are unstable
⚠️ Never approach the cStay edge near the southern sea cliffs
⚠️ Check tide tables before visiting the cave
⚠️ Do not enter the cave during rough seas
⚠️ No lifeguards or emergency services on the island
⚠️ Mobile reception is limited on the southern trail
⚠️ Tell someone your return time if hiking alone
Frequently Asked Questions
Q: Is the lighthouse open for interior visits?
A: No, the lighthouse is an active navigation aid and is not open to the public. The exterior and grounds are accessible.
Q: Can I walk from the lighthouse to Umanose Cave?
A: Yes, the southern coastal trail connects them. The walk takes approximately 20–25 minutes.
Q: Is the cave accessible at high tide?
A: No. The cave floor is submerged at high tide. Check a tide table and visit 1–2 hours before or after low tide.
Q: Are there guided geology tours?
A: The Kanagawa Science and Geology Group (KSGG) occasionally offers guided walks. Check their volunteer guide program for scheduled tours.
Q: Can I see fossils on Jogashima?
A: Small shell fragments and trace fossils are visible in the mudstone layers, but collecting any geological specimens is prohibited on the island.
🌟 Share Your Experience
Visited Jogashima Lighthouse? Found interesting rock formations along the coast? Join our community forum to share your discoveries!
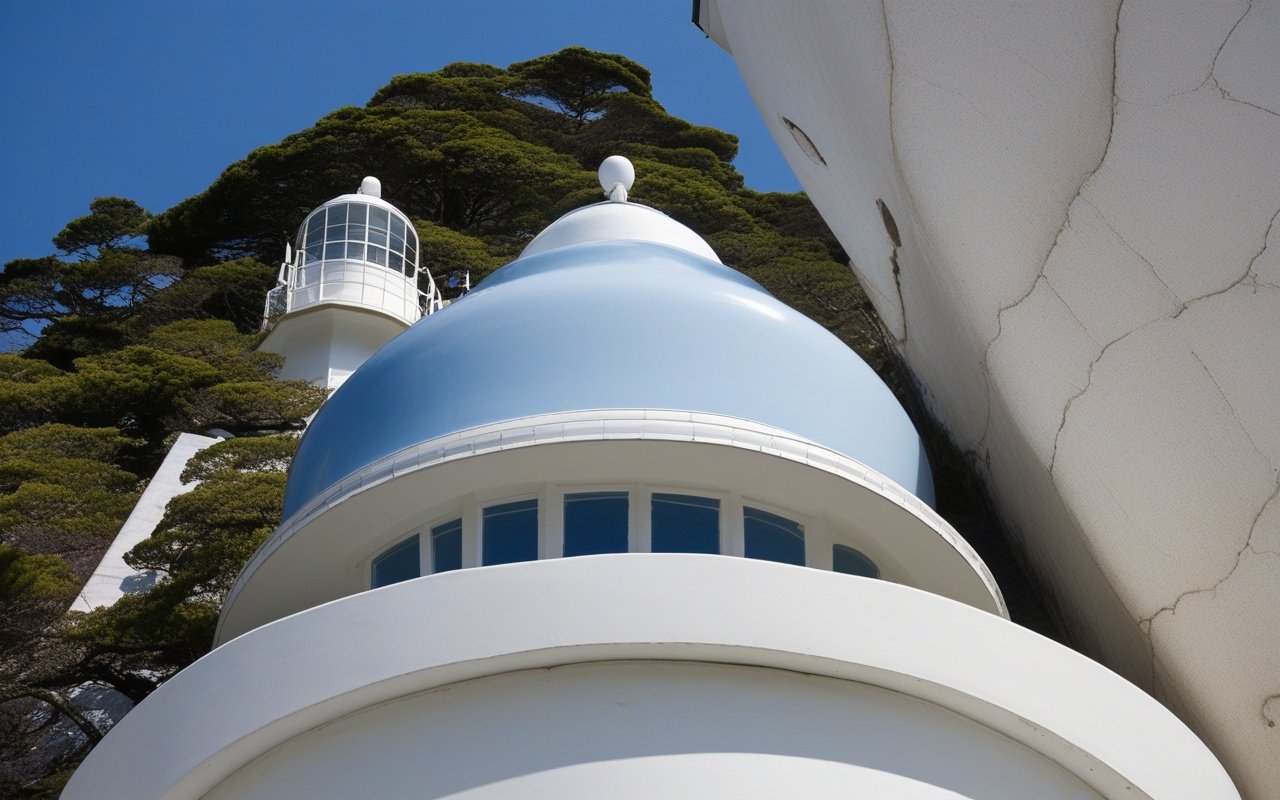
Jogashima is one of those rare places where human history and natural history are visible in the same landscape. The lighthouse — built during Japan’s modernisation, destroyed by an earthquake, rebuilt with resilience — stands on rocks that were once at the bottom of the sea. To stand at the lighthouse and look at the cliffs below is to see both stories at once.
For more ways to explore Jogashima, read our Jogashima hiking trail guide, the Jogashima photography guide, and the Jogashima sunset spots guide.
⏰ Best Time to Visit
Early morning (8–10 AM): Peaceful atmosphere, fewer crowds, perfect for photos Late afternoon (4–6 PM): Beautiful lighting, local life, less crowded than midday
🎯 What I Recommend
- Don’t rush: Take your time to explore the side streets and hidden spots
- Talk to locals: They often know the best lesser-known spots that aren’t in guidebooks
- Try the local specialties: Each area has its own unique food and souvenirs
⚠️ Things to Watch Out For
- Some shops close on weekdays or have irregular hours
- Parking can be challenging during peak seasons
- Cash is still king at many smaller establishments
Conclusion
Whether you are planning exploring Kanagawa for the first time or returning for another visit, taking a little extra time to go beyond the obvious sights makes all the difference. During my visit I went with a rough plan and found that leaving room to wander made the trip far more memorable. I hope this guide helps you build an itinerary that fits your pace, and that your time in Kanagawa leaves you with memories worth coming back for.